The monotub is probably the single most popular fruiting chamber in home mushroom cultivation, and for good reason. it's cheap, it works, and you can build one in about twenty minutes with stuff from the hardware shop. I've been using monotubs for most of my grows now and they consistently outperform every other method I've tried for gourmet species.
That said, I absolutely butchered my first three. Wrong hole sizes, no liner, substrate too shallow, too much misting. the lot. So here's how to set one up properly, based on what I've learnt the hard way.
What Is a Monotub?
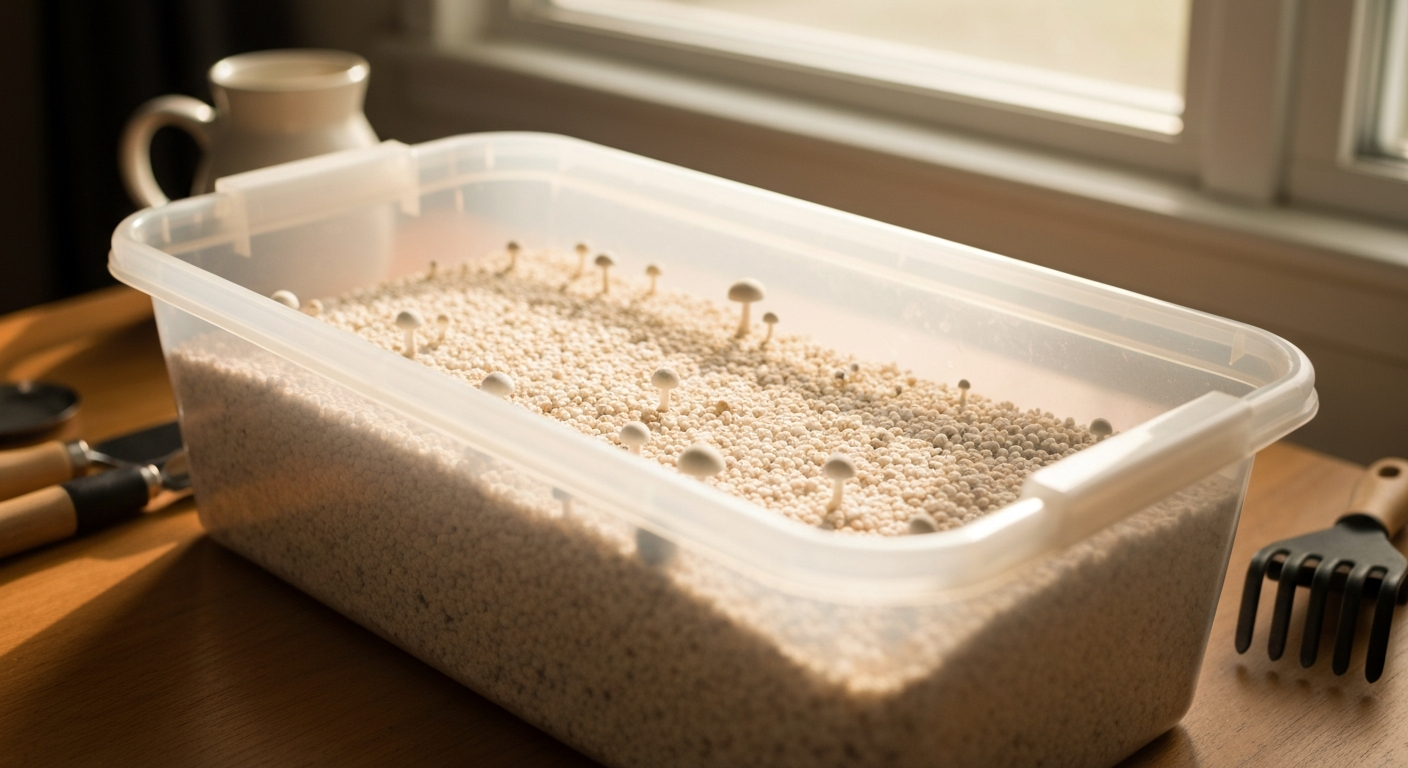
A monotub is basically a large plastic storage container that you modify to create a self-regulating fruiting environment. The "mono" part means you're using a single tub for colonisation and fruiting. no separate incubation chamber needed. You drill some holes for air exchange, add your colonised substrate, and the tub does most of the work managing humidity and airflow.
The beauty of it is simplicity. Compared to a Martha tent or a full fruiting room, a monotub costs about a tenner and sits quietly in a corner of your spare room. I've fruited oysters, shiitake, king oysters, and lion's mane in monotubs with excellent results. For your first grow, there's really no reason to go more complicated than this.
Materials List
Here's what you'll need. Total cost is roughly fifteen to twenty quid if you're starting from scratch:
- Clear plastic storage tub. 50-80 litres, with a clip-on lid. Really Useful Boxes from Homebase or Wilko work brilliantly. The clarity matters because you want to see what's happening inside without opening it.
- Hole saw or soldering iron. A 50mm hole saw attached to a drill is cleanest. A heated soldering iron works too but gives messier edges. I've even used a sharp craft knife heated over a hob in a pinch.
- Polyfill (polyester stuffing). The stuff from craft shops used for stuffing pillows and toys. A small bag costs about two quid and lasts ages.
- Micropore tape. 3M micropore surgical tape from any chemist. About a pound a roll. You'll use this as an alternative to polyfill, or for sealing inoculation points.
- Black bin liner. For the liner. Regular kitchen bin bags work fine.
- Spray bottle. Fine mist, not a jet. Those cheap plant misters from Poundland are perfect.
Cutting the Holes
This is where most people's first monotub goes wrong, myself included. I drilled six massive holes in my first tub thinking "more air = better" and ended up with a bone-dry substrate that never pinned. The key is moderation.
Here's what works for a 60-litre tub:
- Two holes on each long side, roughly 10-12 cm up from the bottom. These are your main fresh air exchange (FAE) holes.
- One or two holes near the top of each long side, about 5 cm below the lid. These help with passive air circulation.
- Hole diameter: 50mm is the sweet spot. Some people go as small as 25mm and use more holes. both approaches work, but 50mm with polyfill is the most forgiving for beginners.
Don't put holes on the short sides. the airflow dynamics work better with holes only on the long sides. And definitely don't cut holes in the lid unless you're going for a fully dialled-in setup with FAE fans, which you absolutely don't need yet.
Polyfill vs Micropore Tape
Both work for filtering the air coming through your holes. The choice depends on how much you want to fiddle with things.
Polyfill is my go-to. Stuff it loosely into each hole. not packed tight, just enough that you can't see straight through. The density of the polyfill controls how much air gets in. Too loose and you'll lose humidity; too tight and you'll starve the mycelium of oxygen. Start loose and add more if the surface is drying out faster than you'd like.
Micropore tape is tidier and gives you more consistent airflow. Layer two or three strips over each hole. It's less adjustable than polyfill but works well if you're in a fairly stable environment temperature-wise. I use micropore tape on tubs that I know perform well and polyfill on experimental setups where I might need to tweak airflow.
Adding the Liner
Right, this is the step I skipped on my first grow because some forum post said it was "optional." It is technically optional, but trust me, you want one. Without a liner, mushroom pins will form between the substrate block and the tub wall wherever light seeps in. These side pins are annoying to harvest, waste energy the mycelium could use on proper surface pins, and they look like sad little escapees.
Cut a black bin liner so it covers the bottom and sides of the tub, going up about the same height as your substrate will reach. Press it firmly against the walls. When you add your substrate, press it right up against the liner. As the substrate colonises and shrinks slightly (it always does), the liner shrinks with it, maintaining contact and blocking that side light.
Getting Substrate Depth Right
This matters more than you'd think. Too thin and the substrate dries out quickly with less thermal mass to buffer temperature swings. Too thick and colonisation takes ages with potential for anaerobic pockets in the middle.
Aim for 7-10 cm depth after you've mixed your colonised grain spawn with your bulk substrate. For a standard 60-litre tub, that's roughly 2-3 kg of colonised grain spawn mixed into 5-6 litres of hydrated bulk substrate (like CVG. coco coir, vermiculite, and gypsum).
Level the surface gently. don't pack it down, just smooth it. Some people add a thin casing layer of pure coco coir on top (about 1 cm), which helps with moisture retention. I do this about half the time and I can't honestly say it makes a massive difference with most species, but it doesn't hurt either.
Managing FAE and Humidity
The whole point of a monotub is that it mostly manages its own environment. The polyfill-stuffed holes allow a slow, passive exchange of air. fresh oxygen comes in at the bottom holes, CO2 (which is heavier) pools at the bottom and slowly gets displaced. The humidity stays high because the substrate itself is your moisture source and the tub keeps it contained.
During colonisation (the first 7-14 days after spawning to bulk), keep the lid fully closed with all holes sealed. You want high CO2 during this phase. it encourages the mycelium to run fast. Temperature should be around 22-25°C. Don't open the tub to "check on it" every five minutes. Seriously. Leave it alone.
During fruiting, open up the holes (un-tape or loosen polyfill) and, if you like, crack the lid slightly. The drop in CO2 combined with increased airflow is what triggers pinning. Surface humidity should be high. look for thousands of tiny water droplets on the substrate surface. If you see them, brilliant, leave it be.
Misting Technique
Less is more. If your tub is set up properly, you shouldn't need to mist often. I check mine twice a day. morning and evening. and only mist if the surface looks dry. Here's the technique:
- Hold the spray bottle about 30 cm above the substrate and mist upwards, letting the droplets float down. Never spray directly onto pins or young mushrooms. the water pressure damages them.
- Mist the sides and lid of the tub to raise ambient humidity rather than soaking the substrate surface.
- If you see pooling water on the substrate, you've overdone it. Dab it off with a clean paper towel.
- In winter when my heating is on and the air is drier, I might mist three times a day. In summer, once is often enough.
Common Mistakes I've Made (So You Don't Have To)
In no particular order:
- Too many holes, too big. My first tub looked like Swiss cheese. The substrate dried out in two days. Start with fewer holes and add more if needed.
- Opening the lid during colonisation. I know it's tempting. You want to see what's happening. But every time you open that lid, you're introducing contaminants and disrupting the environment. Just look through the clear plastic.
- No liner. Side pins everywhere. Wasted two weeks of growth on mushrooms I couldn't properly harvest.
- Misting directly onto pins. This one genuinely set me back a flush. The pins aborted and went brown. Mist the air, not the mushrooms.
- Substrate too dry at field capacity. If your substrate isn't at proper field capacity when you spawn, no amount of misting later will save it. Get the moisture right at the start. Check our substrate recipes guide for the field capacity squeeze test.
- Fruiting too early. Wait until you see at least 75% colonisation of the substrate surface before introducing fruiting conditions. I aim for 90-100%. Patience pays off. see our full grow cycle guide for timing advice.
If you're just starting out and want a broader overview of the entire process from spore to harvest, have a look at the complete beginner's guide. It covers everything from choosing your first species to troubleshooting your first grow.
Frequently Asked Questions
What size tub is best for a monotub?
For a first grow, a 50-60 litre tub is spot on. It gives you enough surface area for a decent yield without being so massive that you struggle to keep humidity consistent. I started with a 64-litre Really Useful Box from Homebase and it worked perfectly. Anything from 50 to 80 litres is fine. just avoid the tiny 20-litre ones, they dry out too fast.
Do I need to drill holes in my monotub?
You don't strictly need to, but it helps massively with fresh air exchange. Unmodified tubs (where you just crack the lid) work fine for some species like oysters, but for most gourmet varieties you'll get better results with proper holes stuffed with polyfill or covered with micropore tape. Two or three holes on each long side, about 10-12 cm from the bottom, is the standard approach.
How often should I mist my monotub?
This is where most beginners overthink things. If your tub is set up properly with the right amount of holes and polyfill, you shouldn't need to mist much at all. Check the surface. if you can see tiny water droplets on the substrate surface, leave it alone. If it looks dry, give it a light misting from about 30 cm away. Once or twice a day is usually plenty. Misting directly onto pins will damage them, so aim for the sides and lid instead.
Can I use a monotub without a liner?
You can, but I'd really recommend using one. Without a liner, you'll get side pins growing between the substrate and the tub walls where light gets in. They're a pain to harvest and they look rubbish. A black bin liner cut to size and pressed against the walls sorts this out. As the substrate shrinks during colonisation, the liner pulls away with it, blocking that light gap.